🍽️
Prep time10 mins
Cook time15 mins
Ingredients9
bakingeasy
Cheddar Chive Drop Biscuits (No Rolling, 25 Minutes)
Published: Oct 10, 2026
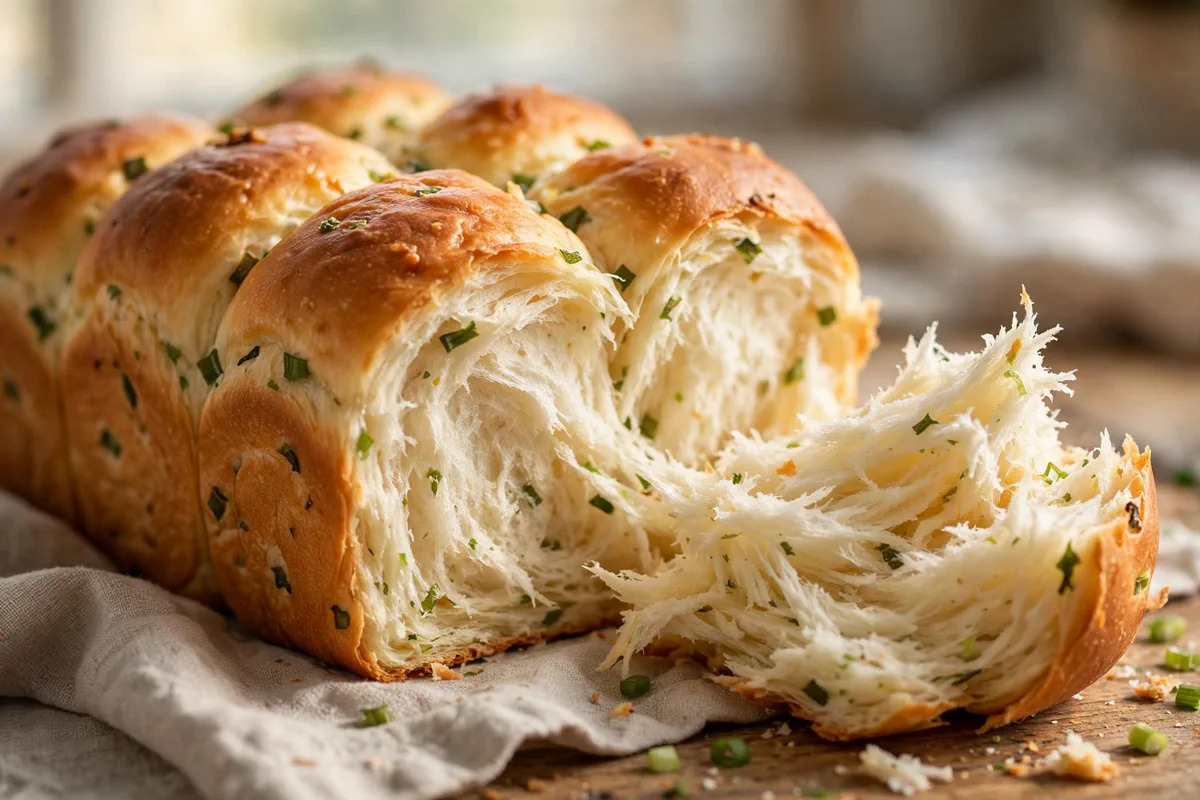
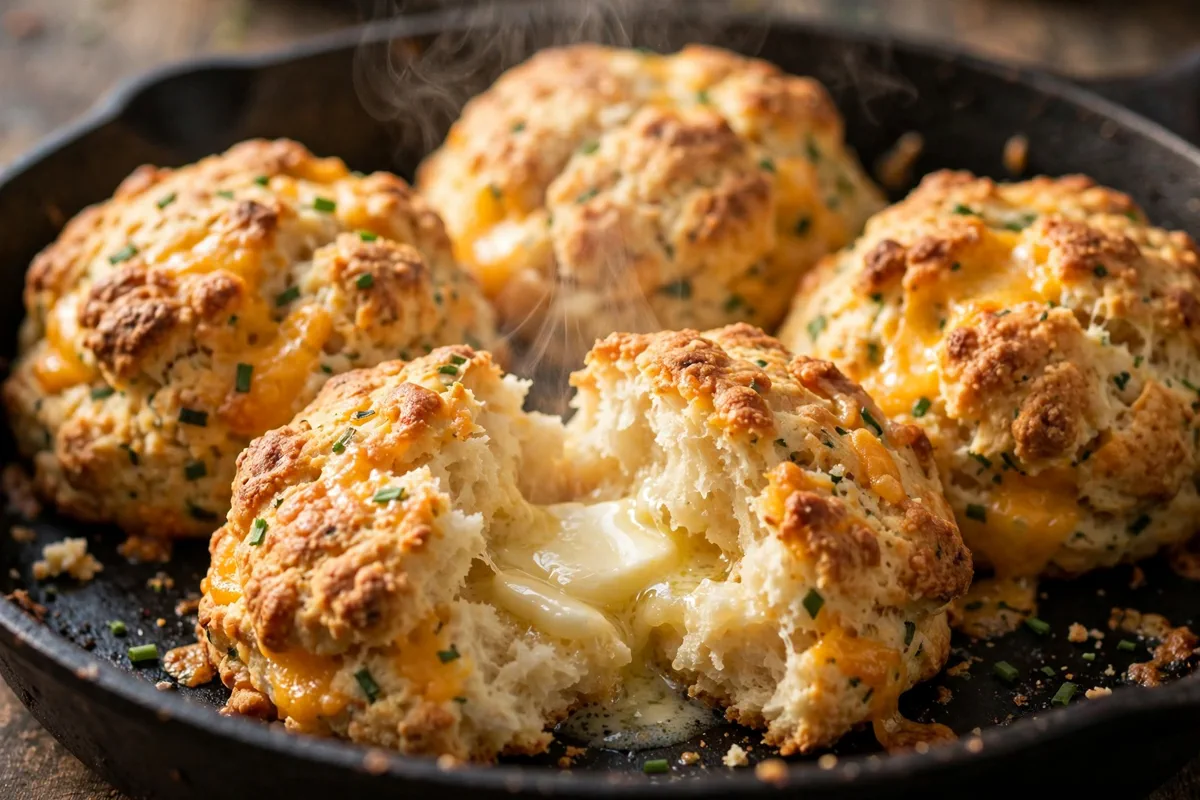
Golden, craggy-topped biscuits with pockets of melted cheddar and flecks of fresh chive, ready in 25 minutes. This is the bread you make when you want real homemade biscuits but don't feel like rolling, cutting, or chilling anything. They split open into fluffy, steamy layers that taste like the best part of a bakery breakfast.
Golden, craggy-topped biscuits with pockets of melted cheddar and flecks of fresh chive, ready in 25 minutes. This is the bread you make when you want real homemade biscuits but don't feel like rolling, cutting, or chilling anything. They split open into fluffy, steamy layers that taste like the best part of a bakery breakfast.
If you are looking for an ultra-satisfying, restaurant-quality meal that comes together with minimal effort, this Cheddar Chive Drop Biscuits (No Rolling, 25 Minutes) is about to become your new favorite. Everything is cooked to juicy, golden perfection with wholesome ingredients and incredible depth of flavor.
One simple tip!
Grate the butter straight from the freezer, not just the fridge. Soft butter melts into the flour and you end up with dense biscuits instead of flaky ones.
Step-by-Step Photos
Why You’ll Love This Recipe
Quick & EffortlessReady in just 25 minutes total with straightforward, foolproof prep.
Packed with Deep FlavorCarefully balanced with all-purpose flour, baking powder, granulated sugar for maximum satisfaction.
Family & Crowd FriendlyMakes 8 generous servings that can be effortlessly doubled or scaled using our smart scaler.
Nutritious & High ProteinProvides 8g protein and only 265 calories per serving.
Ingredients Notes & Variations
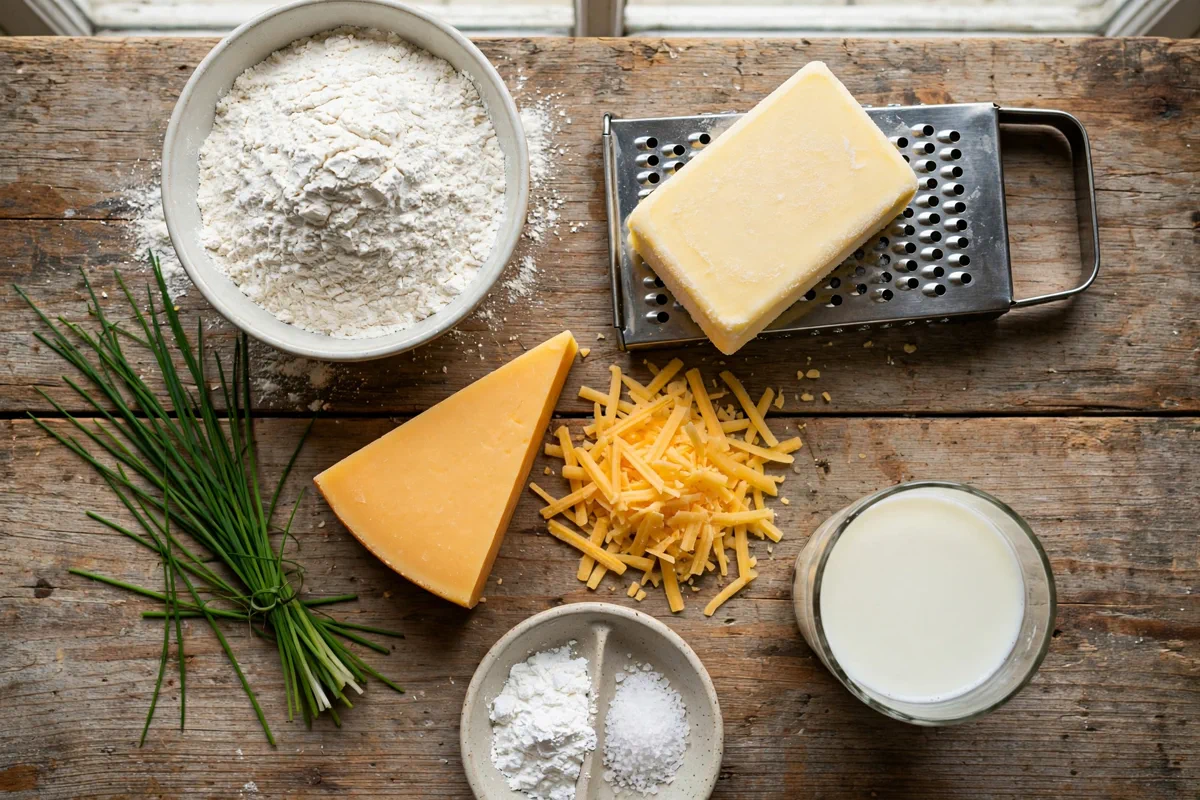
Here is an overview of what you will need for this recipe. Be sure to scroll down to the printable recipe card below for exact scaled measurements!
all-purpose flour
2 cup250g; spooned into the cup and leveled
baking powder
1 tbsp12g
granulated sugar
1 tspkosher salt
1 tspgarlic powder
0.5 tspoptional, but good
unsalted butter
0.5 cup115g; frozen, not just cold
sharp cheddar cheese
1.5 cup170g; shredded from a block
fresh chives
0.33 cupthinly sliced
buttermilk
1 cup240ml; cold, plus 1-2 tbsp extra if the dough is dry
How to Make (Step-by-Step Overview)
Here is a quick summary of the preparation process. Detailed cooking temperatures and step timers are included in the recipe card below.
1
Heat the oven to 425°F (220°C). Put a 10-inch cast-iron skillet in the oven while it heats, or line a rimmed baking sheet with parchment.
Look for: The skillet should be hot to the touch (use a mitt) before the dough goes in. A hot pan starts the bottoms crisping the moment they land.
2
Whisk the flour, baking powder, sugar, salt, and garlic powder together in a large bowl.
3
Grate the frozen butter on the large holes of a box grater, straight into the bowl. Toss the shreds through the flour until every piece is coated.
Look for: You should see pea-sized flakes of butter, not blobs. If they start sticking together, dust in a spoonful of the flour mixture.
4
Add the shredded cheddar and sliced chives. Toss gently to distribute.
5
Pour in the cold buttermilk and stir with a fork until a shaggy dough forms, about 8 to 10 strokes. Stop while it still looks a little dry and lumpy.
Look for: The dough should hold together when squeezed but never look smooth. If it is powdery at the bottom of the bowl, add another tablespoon of buttermilk.
6
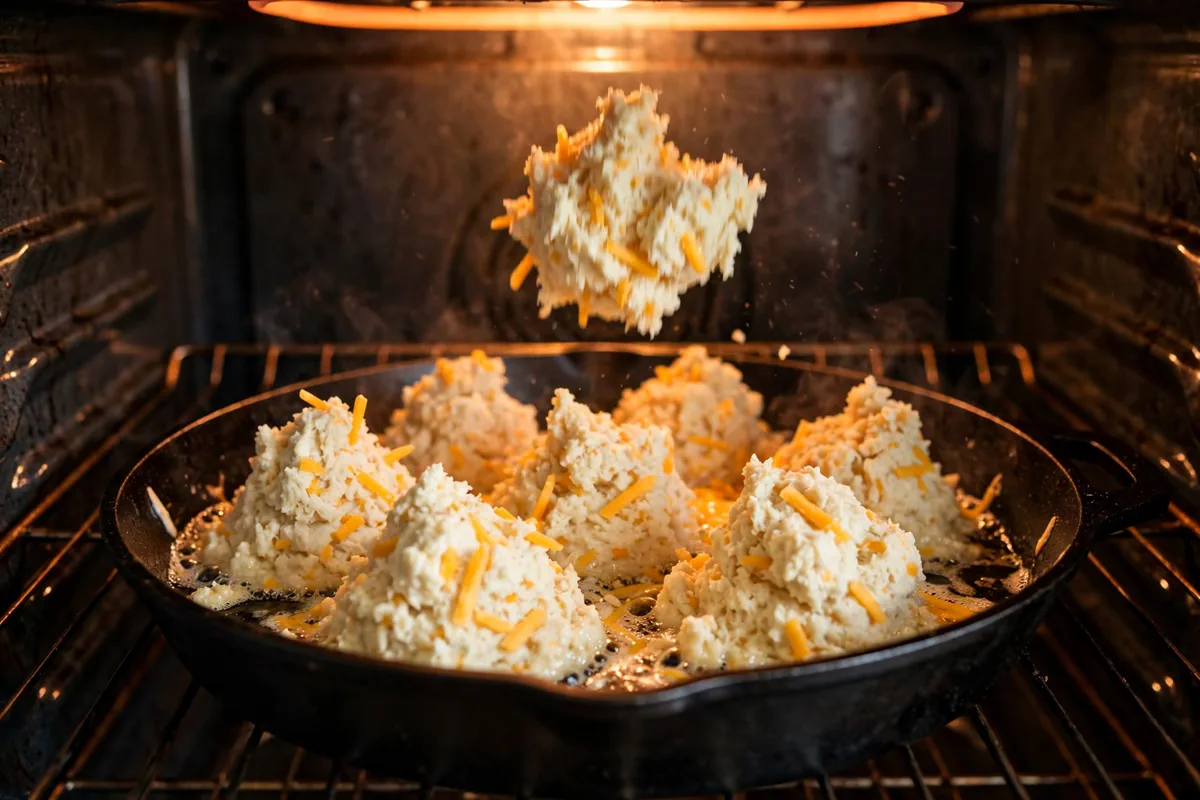
Scoop 8 mounds with a 1/3-cup measure or a large spoon, placing them in the hot skillet with a little space between them. Don't flatten them.
Look for: You should hear a faint sizzle as each mound hits the hot skillet.
7
Bake 13 to 15 minutes, until deep golden on top with crisp, craggy edges.
Look for: Look for a deep golden color and firm tops. The biscuits should sound slightly hollow when you tap one with your knuckle.
8
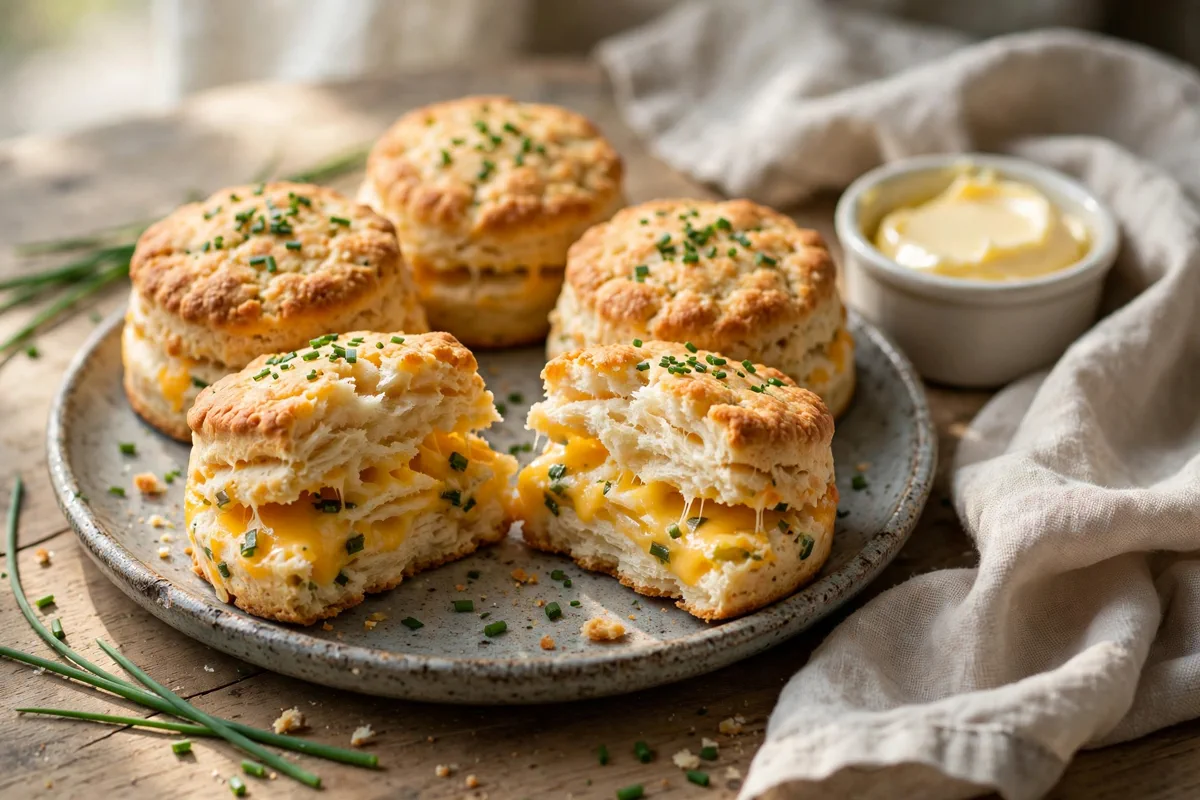
Brush the tops with melted butter if you like, and let the biscuits rest in the skillet for 5 minutes before serving warm.
9
Split one open and serve warm with butter or alongside soup and chili.
Our Pro Tips for Success
- •Grate the butter straight from the freezer, not just the fridge. Soft butter melts into the flour and you end up with dense biscuits instead of flaky ones.
- •If the dough looks dry and crumbly after you add the buttermilk, pour in one more tablespoon. Humidity changes flour's thirst from week to week. You want a shaggy, slightly wet dough, never smooth.
- •Don't flatten the scoops. The tall, craggy shape is what gives you a crisp top and a fluffy middle.
- •Press a little extra shredded cheddar onto each mound before baking. It melts into a crispy, golden cheese crust on top.
Storage & Make-Ahead Instructions
Refrigerator:Store leftovers in an airtight container for up to 3 to 4 days.
Freezer:Freeze in freezer-safe containers or bags for up to 2 months. Thaw overnight in the fridge.
Reheating:Reheat gently in a 350°F oven or covered skillet with a splash of broth until heated through.
Interactive Kitchen Assistant Live Smart Scaler
Our Recipe Precision Calculators
Calculate exact roasting times, internal temperatures, brining ratios, and safe thaw windows.
2.5 lbs (1.13 kg)
Recommended Timing & Thermals
Est. Cook Time45 mins
Rest Period7 mins
Pull From Heat160°F (71°C)
Final Carryover165°F (74°C)
Insert meat thermometer into thickest center without touching bone for 100% juicy safety.
Cheddar chive drop biscuits are golden, craggy-topped biscuits with pockets of melted sharp cheddar and flecks of fresh chive, ready in twenty-five minutes. There is no rolling, no cutting, no chilling. You stir a shaggy dough, scoop it into mounds, and bake. They split open into fluffy, steamy layers that taste like the best part of a bakery breakfast, and they belong next to soup, chili, or just a smear of butter.
The Frozen Butter Difference
The butter in these biscuits goes in frozen, not just cold, and it goes in through a box grater. Half a cup of unsalted butter, straight from the freezer, grated on the large holes directly into the bowl of whisked flour, baking powder, sugar, salt, and garlic powder. Then you toss the shreds through the flour until every piece is coated. Those thin frozen shreds are the whole structure of a flaky biscuit. In the hot oven they melt fast, releasing steam that pushes the dough apart into layers. Soft butter, even fridge-cold butter cut into cubes, blends into the flour instead of staying distinct, and you end up with a biscuit that is dense and bready rather than flaky. If your kitchen is warm, grate the butter and toss it quickly, then get the dough mixed and scooped without delay. Every minute the butter sits at room temperature is a minute of flakiness lost.
Why We Skip the Rolling Pin
Drop biscuits exist for the days when you want real homemade biscuits without the production. No rolling, no cutters, no rerolling scraps that bake up tough. The dough gets scooped into eight mounds with a third-cup measure or a large spoon and placed with a little space between them, either in a hot cast-iron skillet or on a parchment-lined rimmed baking sheet. Do not flatten the scoops. The tall, craggy shape is what gives you a crisp, deeply browned top and a fluffy middle. A flattened scoop bakes into a hockey puck. The uneven surface is also a feature: all those little peaks and ridges catch the heat and turn golden and crisp while the valleys stay soft. Rolled biscuits have their place, but on a weeknight, the scoop wins on both speed and texture.
Shaggy Dough Is Correct
Pour in one cup of cold buttermilk and stir with a fork until a shaggy dough forms, about eight to ten strokes, and stop while it still looks a little dry and lumpy. That undermixed look is exactly right. Biscuit dough is not bread dough. The more you stir, the more gluten develops, and the tougher the biscuits get. Ten strokes feels wrong the first time you do it. Trust it. If the dough looks truly dry and crumbly after the buttermilk goes in, with loose flour sitting at the bottom of the bowl, add one more tablespoon of buttermilk. Flour's thirst changes with the humidity from week to week, and some days it needs a splash more. You want a shaggy, slightly wet dough that holds together when scooped but never looks smooth. Smooth dough means overworked dough, and overworked dough means flat, hard biscuits.
Start With a Hot Skillet
Heat the oven to 425 degrees, and put a ten-inch cast-iron skillet in while it heats, or line a rimmed baking sheet with parchment if you prefer. Dropping the scoops into a preheated skillet gives the bottoms a head start, so they crisp and brown instead of steaming against a cold pan. The high heat is doing two jobs at once: it sets the outside quickly so the biscuits hold their tall shape, and it makes the frozen butter shreds release their steam all at once for maximum lift. Bake thirteen to fifteen minutes, until the tops are deep golden with crisp, craggy edges. Pale biscuits are underbaked biscuits, even if the timer says they are done. Look for real color. If you like, brush the tops with a little melted butter when they come out, then let them rest in the skillet for five minutes before serving warm.
The Cheese Crust Trick
Before the scoops go into the oven, press a little extra shredded sharp cheddar onto the top of each mound. The cheese that is already mixed into the dough melts into pockets inside the biscuit. The cheese on top does something different: it melts across the craggy surface and crisps into a golden, lacy cheese crust. That crust is the best bite of the whole biscuit. Use cheddar shredded from a block, not the bagged kind. Pre-shredded cheese is coated to keep it from clumping, and that coating keeps it from melting smoothly into the crust you want. The third of a cup of thinly sliced fresh chives goes into the dough with the cheese, tossed gently so the pieces stay separate. Their mild onion flavor runs through every bite without overpowering the cheddar.
Swaps That Work
No buttermilk in the fridge is the most common problem, and the fix is easy. Stir one tablespoon of lemon juice or white vinegar into one cup of milk and wait five minutes. It will not be identical to real buttermilk, but the acidity gives you nearly the same lift. Gruyere or pepper jack can replace the sharp cheddar one to one. Gruyere makes the biscuits taste a little fancier, nuttier. Pepper jack adds heat, which is excellent next to chili. Thinly sliced green onions can stand in for the fresh chives, though the flavor is sharper and more oniony, so use a light hand. The garlic powder is optional but worth keeping; it disappears into the background and makes the cheese taste cheesier. For a dairy-free version, use cold coconut oil in place of the butter and a plant milk plus vinegar for the buttermilk. Expect a slightly less tall biscuit, but the method stays the same.
Storing and Bringing Them Back
These are at their peak warm from the oven, but leftovers keep well. Store them in an airtight container at room temperature for two days. For longer storage, freeze them in a zip-top bag for up to two months. To bring them back, reheat at 350 degrees for eight to ten minutes, straight from the fridge or from thawed, until the edges crisp up again. The oven is the only reheating method worth using. The microwave turns them gummy and soft in all the wrong ways, steaming the crust you worked for. A refreshed biscuit, split open with butter melting into the layers, is nearly as good as fresh. They also split and toast beautifully in a skillet with a little butter, cut side down, if you want a crispy breakfast base for eggs.
Frequently Asked Questions
Yes. Stir 1 tablespoon of lemon juice or white vinegar into 1 cup of milk and wait 5 minutes. It is not identical to real buttermilk, but the acidity gives nearly the same lift.
The butter was too soft when it went in. Grate it straight from the freezer so the shreds stay distinct in the flour; soft butter blends in and you lose the steam pockets that create flaky layers.
Easy Chicken Recipes • Official Card
Cheddar Chive Drop Biscuits (No Rolling, 25 Minutes)
☆☆☆☆☆0.0 (0 reviews)•Recipe by Cooking With Guru Editorial Team•Updated: Oct 15, 2026
Golden, craggy-topped biscuits with pockets of melted cheddar and flecks of fresh chive, ready in 25 minutes. This is the bread you make when you want real homemade biscuits but don't feel like rolling, cutting, or chilling anything. They split open into fluffy, steamy layers that taste like the best part of a bakery breakfast.
Prep Time10 mins
Cook Time15 mins
Total Time25 mins
Calories265 kcal
Adjust Servings:
8
Ingredients
Click to check off2 cups all-purpose flour(250g; spooned into the cup and leveled)
1 tbsp baking powder(12g)
1 tsp granulated sugar
1 tsp kosher salt
1/2 tsp garlic powder(optional, but good)
1/2 cup unsalted butter(115g; frozen, not just cold)
1 1/2 cups sharp cheddar cheese(170g; shredded from a block)
1/3 cup fresh chives(thinly sliced)
1 cup buttermilk(240ml; cold, plus 1-2 tbsp extra if the dough is dry)
Equipment Needed
- large mixing bowl
- box grater with large holes
- 10-inch cast-iron skillet or rimmed baking sheet
- 1/3-cup measuring cup or large spoon
- pastry brush
Instructions
Step-by-StepHeat the oven to 425°F (220°C). Put a 10-inch cast-iron skillet in the oven while it heats, or line a rimmed baking sheet with parchment.
0Whisk the flour, baking powder, sugar, salt, and garlic powder together in a large bowl.
0Grate the frozen butter on the large holes of a box grater, straight into the bowl. Toss the shreds through the flour until every piece is coated.
0Add the shredded cheddar and sliced chives. Toss gently to distribute.
0Pour in the cold buttermilk and stir with a fork until a shaggy dough forms, about 8 to 10 strokes. Stop while it still looks a little dry and lumpy.
Scoop 8 mounds with a 1/3-cup measure or a large spoon, placing them in the hot skillet with a little space between them. Don't flatten them.
0Bake 13 to 15 minutes, until deep golden on top with crisp, craggy edges.
Brush the tops with melted butter if you like, and let the biscuits rest in the skillet for 5 minutes before serving warm.
Split one open and serve warm with butter or alongside soup and chili.
0Nutrition Facts (per serving)
Calories265 kcal
Protein8g
Carbs31g
Fat12g
Fiber1.5g
Sugar2g
Sodium480mg
CWG
Recipe Source
The Cooking With Guru Team
Our recipes are developed and checked by the Cooking With Guru team. Nutrition figures are estimates calculated from USDA data, and yields scale with the built-in portion tools so the recipe fits your kitchen.
More baking recipes to try!
🍽️
Turkish Menemen: One-Pan Eggs in Spicy Tomato Sauce
🍽️
High-Protein Cottage Cheese Egg Bake with Spinach
🍽️
Easy Chicken Congee Recipe with Crispy Garlic and Chili Oil
Comments & Questions (0)
Join the conversationNo comments yet!
Be the first to leave a comment or ask a question about Cheddar Chive Drop Biscuits (No Rolling, 25 Minutes).